Interactive LOTTIE Animation with Elementor FREE

Table of Contents
In this tutorial, we’re going to explore Lottie animation and how you can implement it in your Elementor websites. You’ll learn how to make Lottie animations interactive and react to the page scroll. This effect is possible to achieve without using Elementor Pro or third-party plugins. We’ll be doing all that in the free version of Elementor page builder.
How to animate an illustration using Adobe After Effects?
Before we start working in Elementor, we’ll need to take a few preparatory steps. First, we’ll start with picking the illustration. Then we’ll animate the illustration in After Effects, export the animated illustration from After Effects and then embed it on your Elementor page using Lottie player.
- Pick the illustration we’re going to animate. For this tutorial, we’ve picked graphs because various moving elements will emphasize how the scrolling of the page impacts the animation of the illustration.
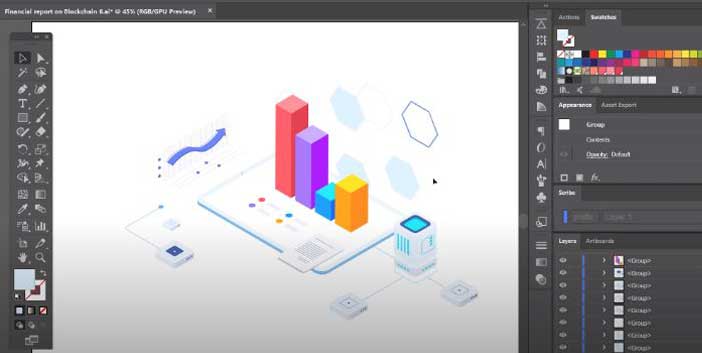
2. Now, in Adobe Illustrator you want to make sure that you have all of your layers grouped in such a way that every single group is a separate object that you will be animating.
If you are not using any extra plugins, it will be more comfortable for you to split this particular group into separate parts. You might want to animate every single hexagon separately.
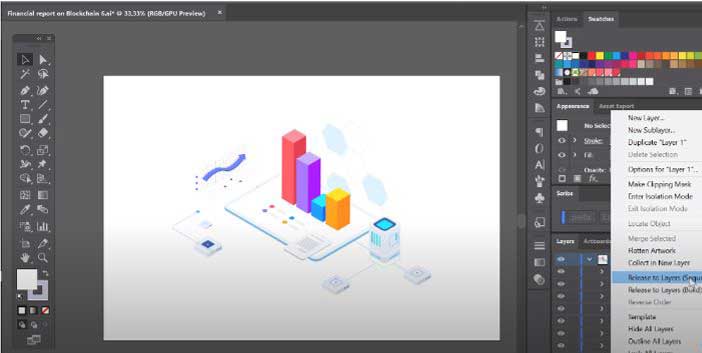
3. Go to “Ungroup”, and here we have every single hexagon in its particular group. Separate it from the rest. Let’s make sure all of these objects are in separate groups.
4. On the other hand, if you want to group several objects into one layer, simply select them and press Ctrl + G or Command + G. This is going to group the selected layers into one. So, now we need to go over the entire document and make sure that all the objects and elements are grouped in the way that we want them to.
5. Now, the next step is to convert all of these groups we have on this layer in the layer panel. To separate layers we need to deselect everything here on our canvas, select the layer under which our groups are. Go to the options menu and choose “Release the layers sequence”. This is going to turn all of our groups into separate layers.
6. Next step is to grab all of these layers and move them up in the hierarchy, so the layer can show up in the layers panel in After Effects. To make things easier for you down the road, go and rename all of your layers. Now, once you’re done renaming, all you have to do is just save this document, close Adobe Illustrator and go to After Effects.
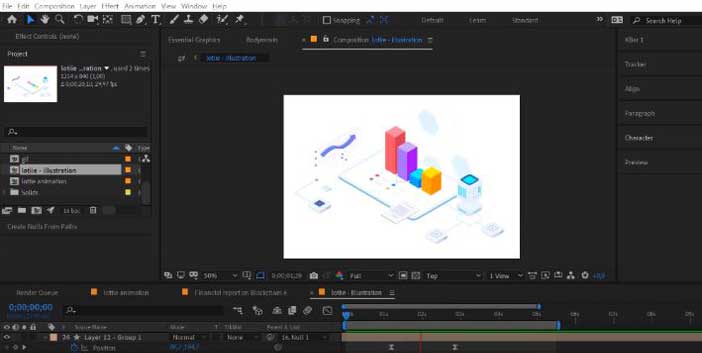
7. In After Effects, create a new project, create a new composition by pressing Ctrl + N or Command + N. The frame rate won’t play much role here, since we’ll be controlling the speed of the animation with the mouse wheel, keep it around 30 or higher.
8. Now to start animating, let’s drop our AI file right here on the timeline and in the dialog window. When you choose composition and the footage dimensions, it will be layer size. Now, it gives you the composition.
You could scale it down and this will be a composition that we’ll be later exporting. But now let’s go in and see all of our layers being here. To make them editable and to be able to edit each of the little points and create the animation of these graphs growing, let’s move it at the very bottom of the layer list.
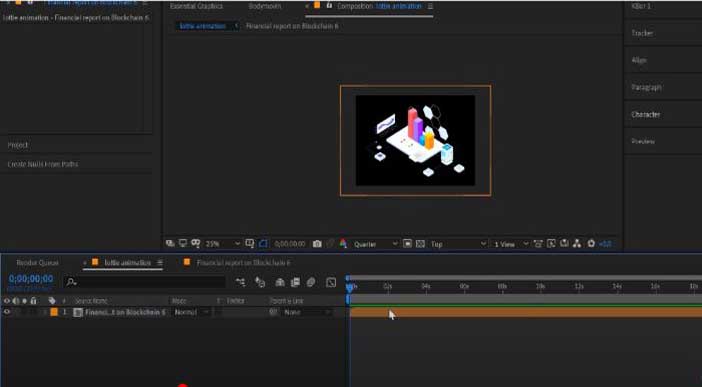
9. So, to achieve the effect shown in the video, we need to select all layers. Press Ctrl+A to select all of your layers, go to “Layer” – “Create” and create shapes for vector layers. If you have a lot of layers, it’s going to take a while and after that you already have all of your layers absolutely perfectly editable.
You can start animating this illustration as you please, and you still have all of your illustrator layers as spare copies. To move all of these layers to the top of the layer panel, press Ctrl + ] (the right square bracket).

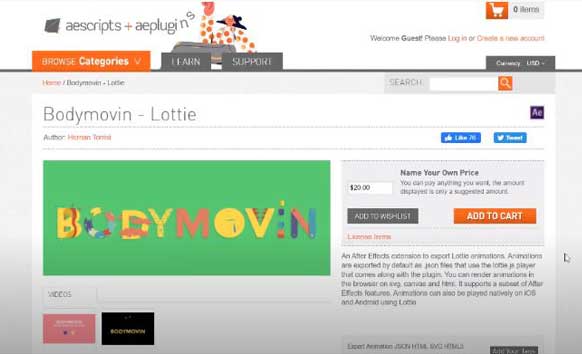
10. To export the animation in the JSON format from After Effects, you will need Bodymovin, an After Effects extension to export Lottie animations. It’s “name your own price” which means you can donate to the author of the plugin, but you don’t have to, which means it can be downloaded from the website for free.
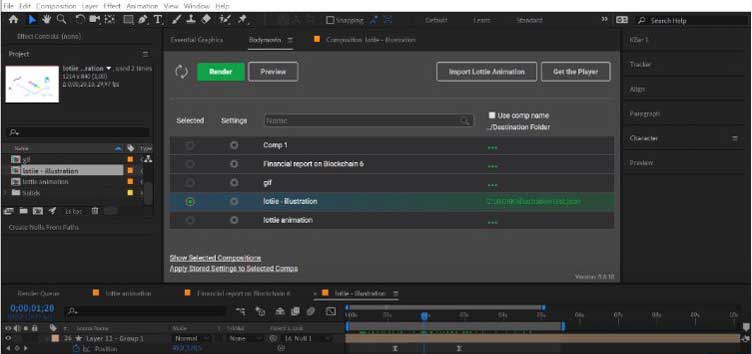
11. Now once you are done installing the plugin, relaunch After Effects to make the Bodymovin plugin appear on your extensions. Once you open the Bodymovin, it will suggest you to select the composition that you want to export. If you click on this icon, you will see all of the settings, they can change before you export the JSON file.
In our example, the animation was fairly simple and there’s no text or embedded images there. If you need to export the hidden layers or if you need to export the guides that you have in your composition, click “Save” without changing anything.
There is the destination folder where the JSON file will be saved. Change it as you see fit, and after that, press “Render”. Once the render is finished, click “Done” and go to the destination folder to check if the JSON file is actually there. Now, that we’re done with After Effects, we can move on to embedding our animation on the Elementor page.
How to embed Lottie Animation into Elementor?
12. Now all the viewers who have skipped the part where we went over how to animate the illustration in After Effects, will join us and we’ll continue this journey together. Run the Lottie files website (lottiefiles.com) and the link is in the description. If you already have an animated illustration, your steps from now on will be pretty much the same.
13. Go to the preview option – it opens a preview window. Before we start doing all that, it is better to have the Lottie files account created. This will allow you to upload and save Lottie animations on your account and edit the colors.
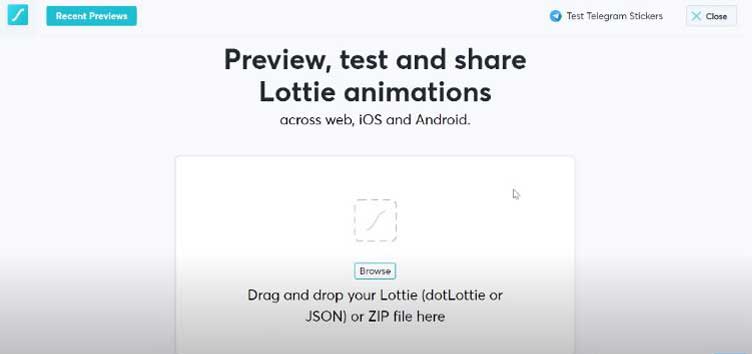
14. Grab your illustration and drop it right there to see, if it actually works and if it has exported the way that you wanted it to. Get the JSON file and go to “Edit Layer Colors” option. It will open the Lottie editor, so you can go in and change the colors the way you want.
15. Now, from the moment you uploaded your Lottie animation to view the preview, you will be able to access it in “My previous menu” at any time. It will always be there even if you do not click this “Published” public button. It will still be in your storage and it’ll be available via a URL link.
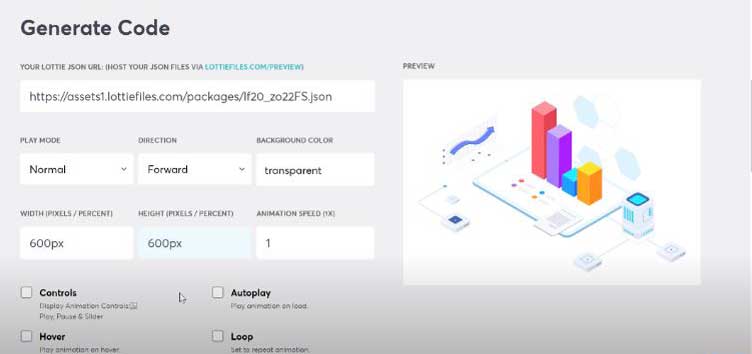
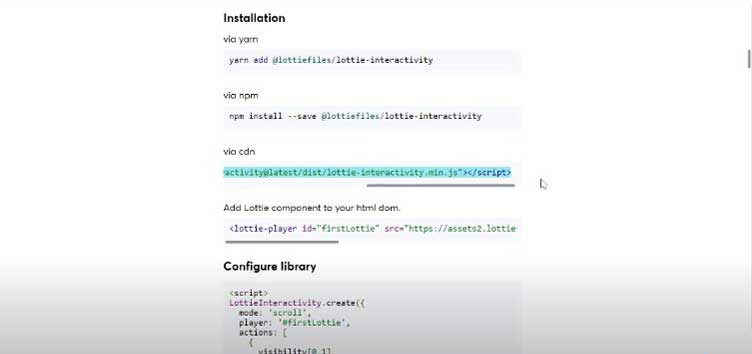
16. Let’s jump back to the preview very quickly and copy this code, the Lottie animation URL. Go to the home page, go to the tools and the web player, and here we have the web player editor. And first and foremost only to replace this link with our link that we have just copied from our preview window. Leave the settings for the play mode, direction, background color at default. Remove the Controls, Autoplay and Loop checkboxes right there. Increase the size to 600 pixels and then click “Copy Code”.
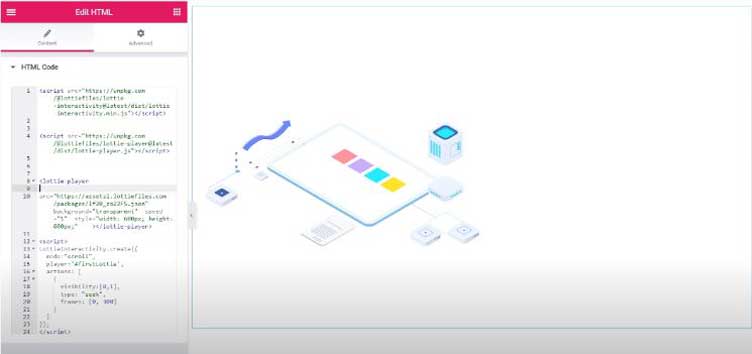
17. Get back to your Elementor editor and embed the code in the HTML code window. The animation is not playing because we have removed the Autoplay checkbox, but we’re going to fix that. Go back to the Lottie files page and now you will need to go to Tools again.
18. First, to install the interactivity component on our page, we’ll need to copy this piece of code with the Lottie interactivity library. We have a pretty much similar piece of code right there, right above the Lottie player tag. This is the one that drops the Lottie library on the page and this is the one that drops the interactivity library on the page.
19. Now, the next step would be to add these settings. Copy all of this script, get back to the Elementor page and drop this piece of code down here. Nothing seems to work just yet. This will need a tiny adjustment to make. Right after the Lottie player tag, we’ll need to add the ID. Here it is, and this ID is going to be read by this script and it will be able to play back the animation which means we’ll need to add the ID, so the script can recognize the player.
20. Now there is another surprise you’ll not be able to see if animation is actually playing back or not unless you go to the preview. So, in the Elementor editor it’s not going to play back. Update the page and go to the preview. But before another section was added, there’s some scrolling going on. The animation has the ability to play back and also the section right below the section with the illustration. That’s how we’ll be able to see if this actually works or not.
21. So you can tell that some animation is happening, but it does not react to the viewport correctly. What we want is that once the animation actually reaches the viewport, as we scroll down the page, the illustration starts animating. So we can see it from start to finish. There is a way to fix it.
22. Get back to the Elementor editor and click on our HTML element. This is still an HTML element right there. And we’ll need to make a tiny adjustment to our actions segment right there. So, once we’re back in the interactivity guide, we’ll scroll down the guide a little bit and we will need to find the “Lottie scroll with offset” title and it’s going to explain to us how we can offset the animation by the parts of the page.
23. Originally in this guide they’re talking about the container, like until 30% of the container, in which your animation is visible. The animation doesn’t start to play, but at the 30% of the container it starts playing back and is playing back until that 100% of the container is visible. But in Elementor it’s working a little bit differently and we’ll need to adjust to that.

24. What we’ll do is write similar lines and explain to the larger player that we want the animation to start once we scroll past the percentage of the page around which our illustration is. Let’s jump back to Elementor and start working on it. So we’ll need to make a couple simple changes.
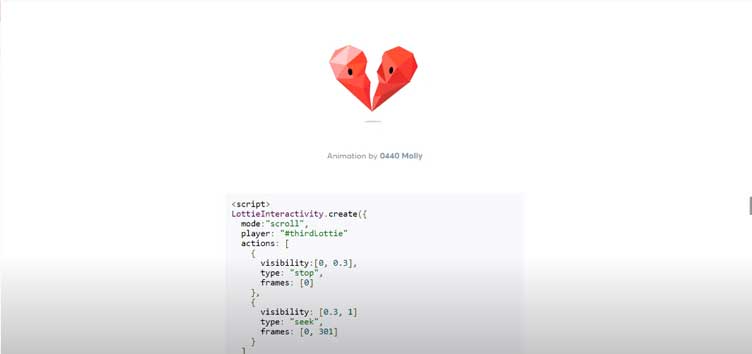
25. We need to duplicate this part. The first part will be the stop command. It will tell the library to not start the animation until the viewport which is about 40% of the page. Since our illustration is around the middle of the page in this case. Also the frames say at 0, since our animation doesn’t start, which means it is still on the 0 frame or all in the first frame, if we’re being precise.
26. Now the second part of this segment will be the starting point of the animation and the number right here will represent the number of frames at which your animation will end. Also, do not forget that both of these segments need to be in their separate curly brackets pair! Then let’s see if it actually works or not. Let’s update and jump to the preview. If something doesn’t work, the first thing to do is to make sure that you have commas in all the right places.
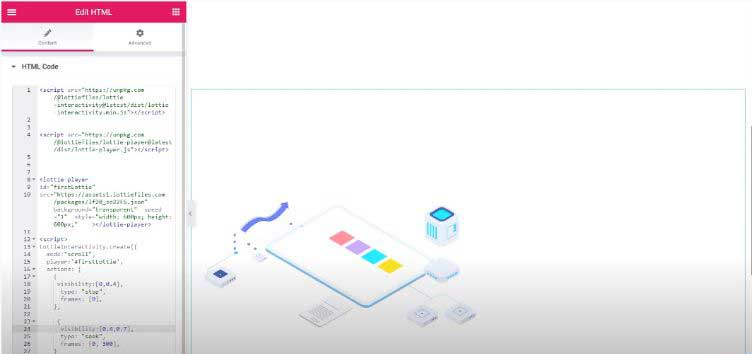
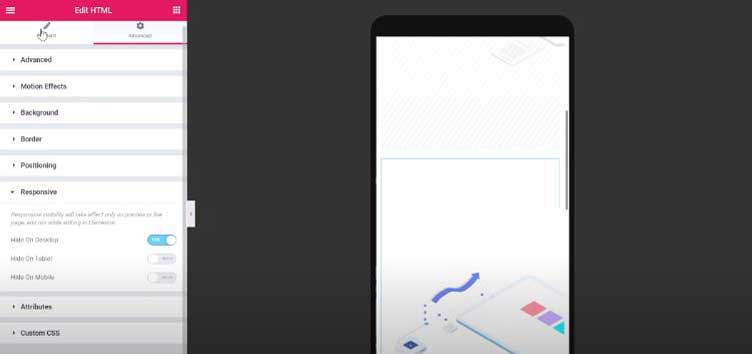
27. If you want the animation to end a little bit earlier, you can set this number right there and it will add right at 70% of the page. As for how it works on mobile devices, let’s test this out. First, let’s go to Advanced Positioning and then select “Inline” to crop this widget to the size of the larger player container. Next, go to the model view and see if it’s positioned correctly and now it still retains that 600 pixels width, which probably means that we’ll need to go to “Responsive” and hide this particular widget on mobile and after we do that, we’ll duplicate it and there is the duplicated version selected.
28. Go to “Responsive” now and hide it on Desktop. And unhide it on mobile. Go to Content and try and edit the width and the height of the illustration. Now let’s jump to the preview and see if we can play back our animation on the mobile device. Now I try to set up the interactivity on the mobile device, but it doesn’t seem to work. That’s why we adjusted the settings a little bit and removed the interactivity library altogether, all the interactivity settings, and set the autoplay to “On” and now the animation is just going to playback once.
Alright that’s pretty much it. We have just created the animated illustration, embedded it on Elementor website with Lottie files, with no third-party plugins and with no Elementor Pro subscription.
Contact
Don't like forms?
Shoot us an email at [email protected]
Send a Project Brief
You are currently viewing a placeholder content from Facebook. To access the actual content, click the button below. Please note that doing so will share data with third-party providers.
More InformationYou are currently viewing a placeholder content from Instagram. To access the actual content, click the button below. Please note that doing so will share data with third-party providers.
More InformationYou are currently viewing a placeholder content from X. To access the actual content, click the button below. Please note that doing so will share data with third-party providers.
More Information