Add Google Analytics to WordPress With/Without Plugins

Table of Contents
How well do you know your audience? What things do they like the most about your business? What are their most favorite blog posts, products or categories? It’s easy to answer these questions when you add Google Analytics to WordPress. It is the preferred tool of thousands of businesses worldwide. With its help, you can easily learn how your audience interacts with your content. If you still haven’t installed Google Analytics on your site, now is the best time to do it. In this guide, we’ll tell you to connect Google Analytics to WordPress step-by-step.
Valuable Insights You Can Learn with Google Analytics
- Google Analytics lets you learn who visits your website along with extra details that let you visualize your customer’s persona. More specifically, the tool reveals users’ geographical location, the devices and web browsers they use to navigate your site, whether or not they support Flash and JavaScript, what languages they speak what currencies/payment methods they use, etc. Based on these insights, you can write content that will appeal to your audience and update your site with features that are compatible with your customer’s devices.
- Track user behavior. Using Google Analytics, you can find out what people commonly do on your site, for how long they stay on your pages, what percent of users exit your site on the first visit, etc. Drawing the right conclusions based on this information will help you decrease bounce rate, increase page views, and provide your audience with the right pieces of content they are looking for on your site.
- You can also find out when users commonly visit your site to pick the best hours to publish new blog posts. If you find out the majority of your customers live in a different time zone, you can make use of the post scheduling feature that all WordPress websites support.
- The tool reveals how people interact with your content. More specifically, it shows what pages they visit, what links they click on, how far they scroll down your page, and when they decide to tap on the close button. To get the maximum value from this information, you can run A/B tests on your site to understand what strategies work best for your audience.
- The last but not the least important point is the possibility to learn what sources people come from. For example, Google Analytics will reveal if these are direct links, referral links, or search engines that drive customers to your site. Based on this information you can learn what search engines your customers mostly use. If you have a referral program, you can learn what referral partners bring the maximum value to your business.
While keeping a close eye on these details, you can improve your content strategy and provide your customers with the data and features that work best for them. At the same time, you can avoid using the approaches that do not work, thus focusing on the tasks that work best on your site.
Signing up with Google Analytics Step-by-Step
To start using Google Analytics, you need to have a Gmail account to sign up for this free tool. The signup process is simple, including 4 quick steps. First of all, navigate to Google Analytics and log in using your Google account. If you still do not have one, you will need to register to continue using the tool. The process is quick and easy. It won’t take you longer than a couple of minutes to create a new Google account for yourself.
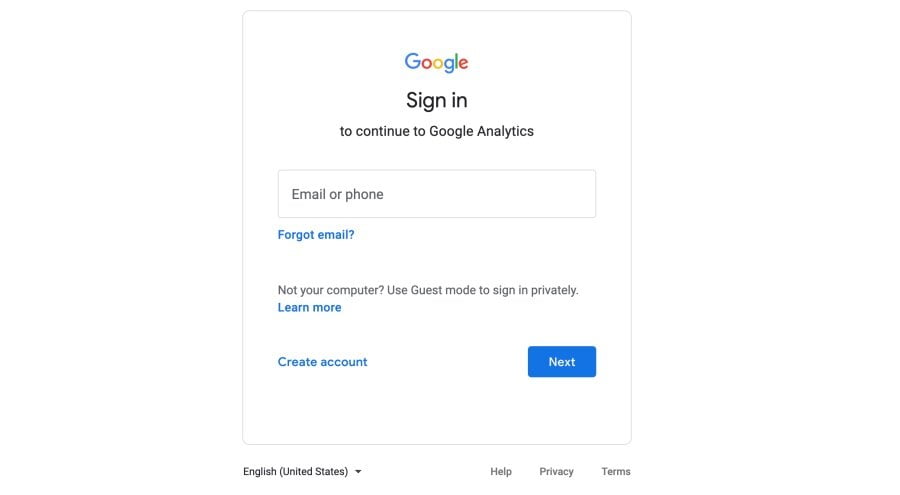
When you sign up with your Google account, you will be taken to a screen like the one given below. This is where you sign up for Google Analytics. Once you sign up, you will be asked to fill in your account details. It can be anything. For example, you may use the domain name of your site.

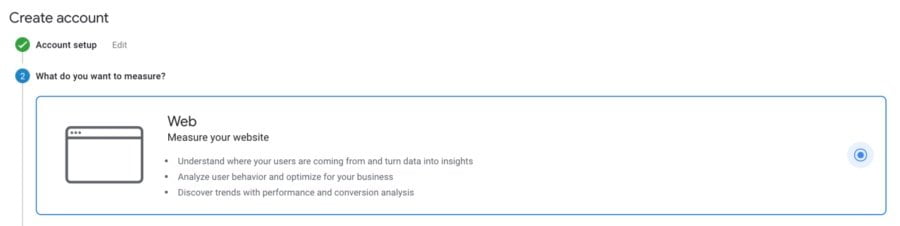
In the next step, you will need to choose whether you want to measure a web, apps, or web and apps. Select Web.
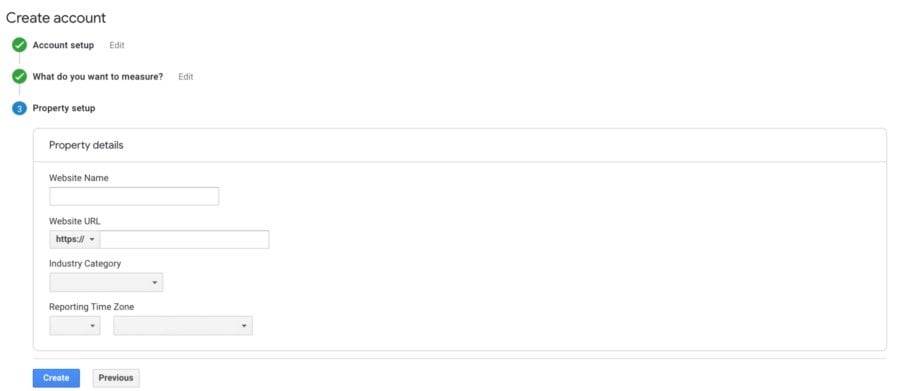
Once selected, you will be asked to complete the property setup, including your website name, URL, industry category, and time zone. After you specify all the needed details, click Next and you will be presented with the Google Analytics terms and service. Read them and click “I agree” to proceed to the next step.
In the next window, you will see your unique Tracking ID. Copy it. You will need to enter it on your website to add Google Analytics to WordPress.
Now, you are ready to move to the next step and install Google Analytics in WordPress.
Should You Add Google Analytics to WordPress With a Plugin?
The right choice of a plugin can be beneficial to your business in many ways. There is a wrong assumption that installing many WordPress plugins can affect your site’s loading speed. However, it’s not the quantity but the quality of plugins that you install in WordPress. Choosing lightweight and well-coded plugins won’t harm your website’s speed and performance. Working with a plugin can save you lots of time and energy while you add Google Analytics tracking to your site. Besides, there are other reasons why a manual installation may not be the best choice.
- If you’ve never added Google Analytics to WordPress before, you may find it a bit complicated to do without a dedicated plugin.
- You may miss on your customers’ tracking data while switching WordPress themes and forgetting to add the tracking ID to your new theme.
- Without a plugin, it may be time-consuming to add extra features to perform analytics on your site, like the possibility to track file downloads, events, set custom dimensions, etc.
If installing Google Analytics with a plugin is not what you are looking for, the following instructions will guide you through the entire process of Google Analytics installation without a plugin. Let’s check them out.
How to Add Google Analytics to WordPress without a Plugin
Important notice: before we proceed to the steps on how to add Google Analytics to WordPress, make sure that you backup the current version of your WordPress site. We are going to work directly with the code that outputs your site. So, a simple misspell can bring your site down.
To begin with, sign in to your Google Analytics account to copy your tracking iD. At the bottom of the left sidebar, click on Admin. In the Property Setting column, find the Tracking Info > Tracking Code. Click on it to get the tracking code. Simply copy the script.
- Open your WordPress dashboard. Navigate Appearance > Theme Editor. Click on the Theme Header (header.php).

Paste the tracking code you copied from Google Analytics before the closing </head> tag. Click Update and that’s it. You have added Google Analytics to WordPress.

Start Analyzing
Now you can start tracking and analyzing your site visitors’ behavior. Check how the tool works, analyze the reports, and find your favorite tricks. Google Analytics is the preferred tool of millions of online marketing specialists worldwide. Take advantage of adding it to your WordPress site to understand your audience better and provide customers with exactly what they look for.


Contact
Don't like forms?
Shoot us an email at [email protected]
