Elementor Landing Page Essentials to Convert
Table of Contents

Inexperienced users often confuse a landing page with a homepage, though these two are absolutely different things in site-building. In the business world, a landing page is a one-page site that promotes a specific type of product or service and welcomes users to take whichever action a marketer needs. There are many ways and approaches to building landing pages. This article mainly focused on designing an effective and appealing Elementor landing page. We’ll mainly focus on the must-have elements your landing page should feature for maximum efficiency.
What Is a Landing Page?
I think marketers will agree that a landing page is a targeting tool. It’s part of the advertising campaign, something between the advertisement and the product a company sells.
A landing page contains the most important information about the product and service that a company promotes. It explains why a user needs to try a specific order. It’s a conversion-oriented tool that turns visitors into clients.
It’s common for marketers to use landing pages as part of their ad campaigns. The chain is quite simple – a marketer sets up an ads campaign, leading to the landing page from which a user orders. In such a way, a marketer takes a user through the sales funnel to the conversion.
When working on the landing page design, you must carefully think over every element the landing page would feature and how each contributes to conversions. Choosing a website builder like Elementor is always the right solution when designing a landing page. Such website building tools allow you to create custom designs by using pre-built templates, widgets, CTAs, visuals, and other components needed to develop an engaging landing page design with the necessary structure. When landing on your landing page, people should find it easy and intuitive to come across the right links they should click to be taken to your email, social media platforms, or other sites.
Landing Page Design Essentials
Creating a compelling landing page design is not as easy as it may seem. However, there are several tricks to making a striking landing page that everyone can master. Let’s consider the fundamentals.
- AIDA (attention, interest, desire, action) and PMPHS (pain, more pain, hope, solution) are the two key formulas to creating a striking landing page design;
- Always keep in mind your marketing strategy when building a landing page;
- You have only a few seconds to capture your customers’ attention;
- Do not forget to add a CTA button to the landing page design; make it bold and catching.
Types of Landing Pages
Based on the target action, there are different types of landing pages that you can create. Some of the most common purposes of building landing pages include informing users about something, asking them to subscribe, trying your new deals, etc.
The most common types of landing pages include:
- splash landing pages that use video, animation, and visual effects as they advertise the product;
- squeeze landing pages that collect emails and other user details in return for a special offer;
- lead capture landing pages that aim to turn leads into your loyal customers;
- click-through landing pages are aimed at guiding users through all stages of the marketing funnel to the product page;
- long-form sales landing pages are the ones that commonly feature a detailed description of the product, an explanation of its benefits, and work with price objections;
- thank you for landing pages that let you express gratitude to your clients;
- coming soon landing pages are hooks to catch attention when your website is still in the under-construction mode;
- 404 landing pages keep users on your website even when they reach a page that no longer exists and redirect them to the correct page.
Essential Elements of Elementor Landing Pages
The choice of tools and elements for your landing page mainly depends on the goals you pursue and what type of landing page you create. Still, there are some most common elements that your landing page should feature. These are:
- Title, subtitle, and other text blocks;
- Visual effects supporting the ideas described in the text blocks;
- CTA buttons.
Additionally, your Elementor landing page may include infographics, quizzes, widgets, user-generated content as social proof, etc. By using widgets, you can significantly spice up your landing page design. There are different types of widgets suited for various purposes and goals. You may pick any that you think will make your landing page more memorable and exciting. Although a wide range of widgets varies in functionality, style, and customization opportunities, they all serve the same goal on your Elementor landing page – to increase sales.
The best answer to everyone wondering how to build a landing page with Elementor is to drag and drop any widget or other element that would match the overall appeal of your project. There are 150+ Elementor widgets and plugins available, letting you embed all the essential functionality into your landing page design.
How to Build a Landing Page with Elementor
Now, let’s see how you can build a visually striking and compelling landing page using Elementor page builder.
To start building a new landing page, you need to navigate to the Page Settings. There are several layout options you can choose from. Go with the full-width layout if you want to keep the header and footer sections on your landing page. You can also change the layout to the canvas.
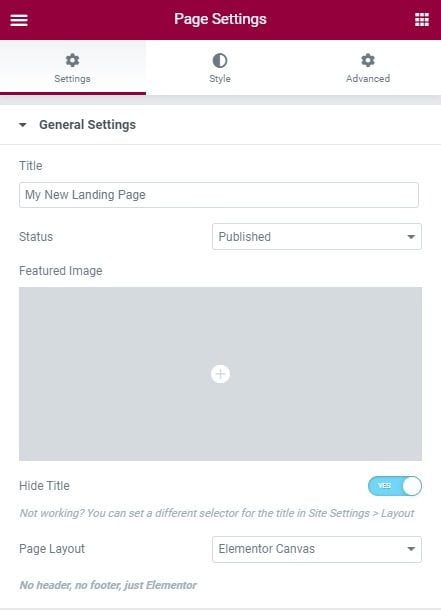
If you decide to go with the full-width layout, you should make sure that you have good-looking header and footer sections. If you miss those, you can still create impressive headers and footers for your website with a free version of the Elementor page builder.
Let’s consider what sections you can add to your Elementor landing page.
Hero Section
It’s the first section that users see when your web page loads, so you need to take care to make the key message of your ads campaign clear right in the header section.
The hero section should include breathing room to make your message more comprehensive. There is no need to stuff it with all the information that you want to present on your landing page. Instead, focus on the main message and drive users’ attention toward the CTA button. You can also an image, light animation, or use eye-catching colors to trigger users’ attention in the hero section of your landing page.

Features Section
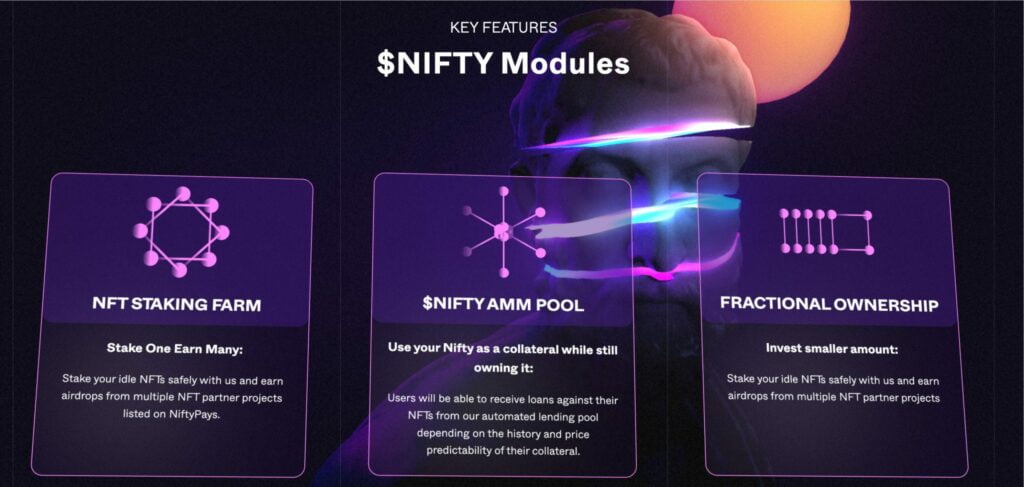
The features section comes next on the essential components of high-converting landing pages. Highlighting a list of your offer’s main features on the landing page lets your company create value for users who want to explore it in detail. By adding a features section, you let users know what functionality is included and what exactly your offer does. This is also where you can display your product or service in action.
Gallery Section
Adding an image or video gallery to your landing page is one of the best ways to showcase your work. Using the Elementor image gallery widget, you can easily create custom galleries to let users slide through images with interactive hover effects. Create an image gallery in a grid or masonry layout with trendy image captions, effects like Instagram and Scale hover effects, and the ability to open the image in a lightbox when clicked.
While adding links to other pages like your portfolio, please remember that all content provided on your landing page focuses the users’ attention on the CTA. If you redirect people to a different web page that features your portfolio, ensure that your landing page’s CTA is also available at the end of the portfolio page to funnel in the viewers.
Team Section
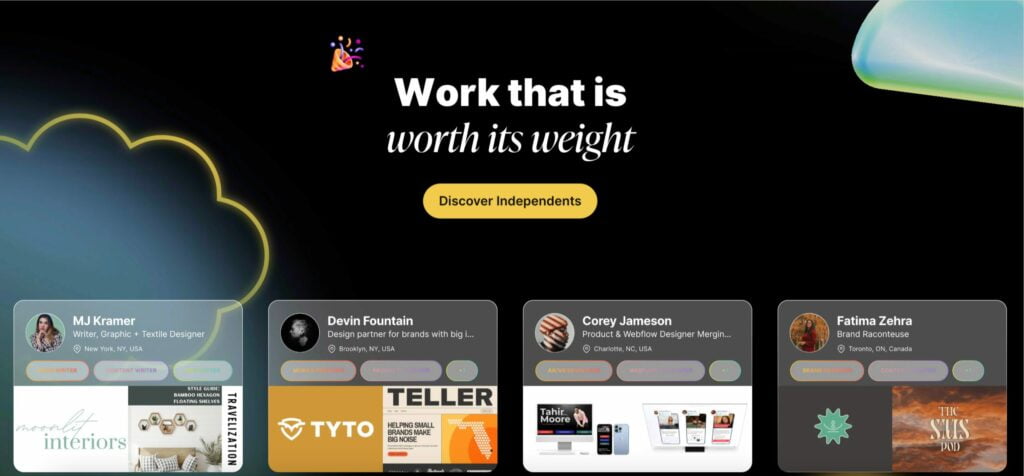
Adding a team section to the landing page design is one of the best ways to boost its credibility. Using the team member widget, you can display your team members’ positions in the company by defining their positions, adding job descriptions, and posting their images. Elementor also lets you style all these elements according to your preferences. While working in the intuitive visual editor, you can adjust image sizes, set the right size, color, and weight for fonts, and apply many other changes in a few clicks.
If you have a team of well-known professionals, adding this section to your Elementor landing page will help. However, using testimonials sections should be better if you are only taking your first steps in the chosen niche. It lets you build confidence in users’ minds and boost conversions on your landing page.

CTA Section
We have already spoken about adding a CTA at the top of the Elementor landing page, now let’s discuss what message should be conveyed at its bottom. After you’ve presented all details about your offer, it’s time to convert them to leads.
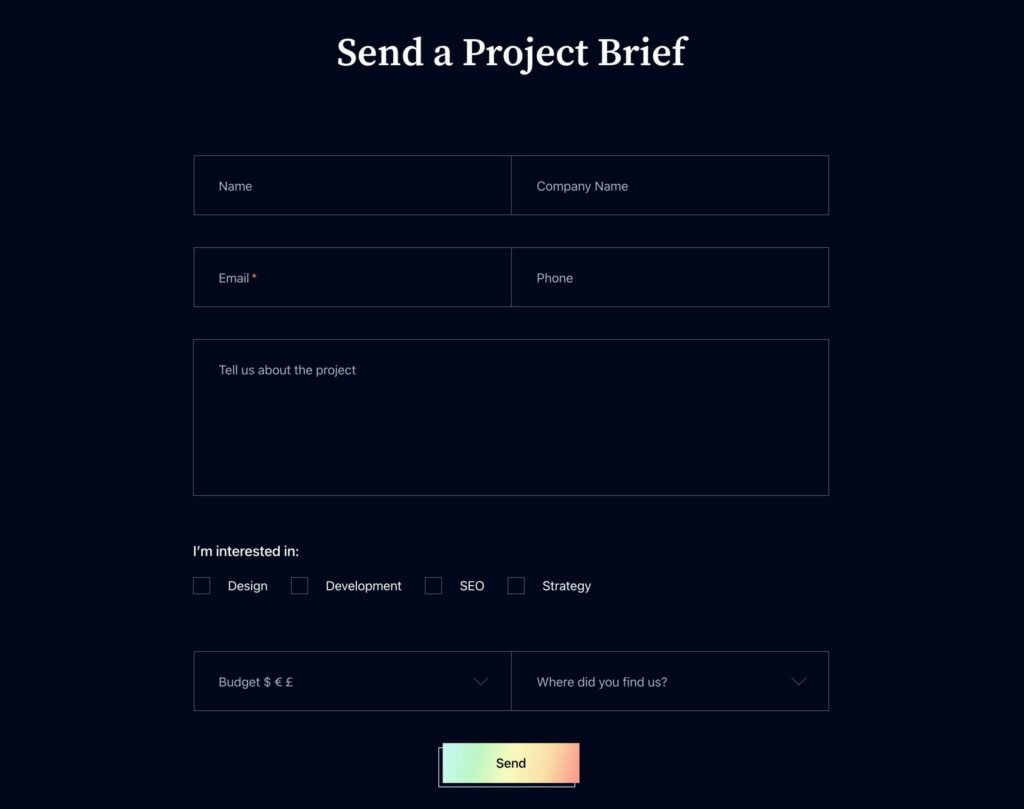
It’s common to place a contact form at the end of the landing page. However, it’s always up to you to decide where exactly and how you’d like the contact form or any other CTA section displayed on your landing page.
In terms of customization, ensure that content, typography, colors, styles, spacing, and other features match the overall Elementor landing page design.
This is how we have organized the contact form section at itmonks.com. If you need professional help with your WordPress-based Elementor landing page or any other matter, you can send us your project brief using the contact form.
Bottom Line
While working on the effective Elementor landing page, the main principles you should follow include making your content and objective clear, using widgets to make your landing page look and feel more impressive, keeping the navigation easy to go, and making your web design fully adaptive.
Although there is no fit-it-all formula to launching striking landing page designs matching all topics and industries, you should consider adding several Elementor landing page essentials to your project to make it more usable, clear, and appealing. You must decide what widgets and other tools you’d like to use in your landing page design. Focus on your content and make your design cater to your target users’ needs.
Contact
Don't like forms?
Shoot us an email at [email protected]

