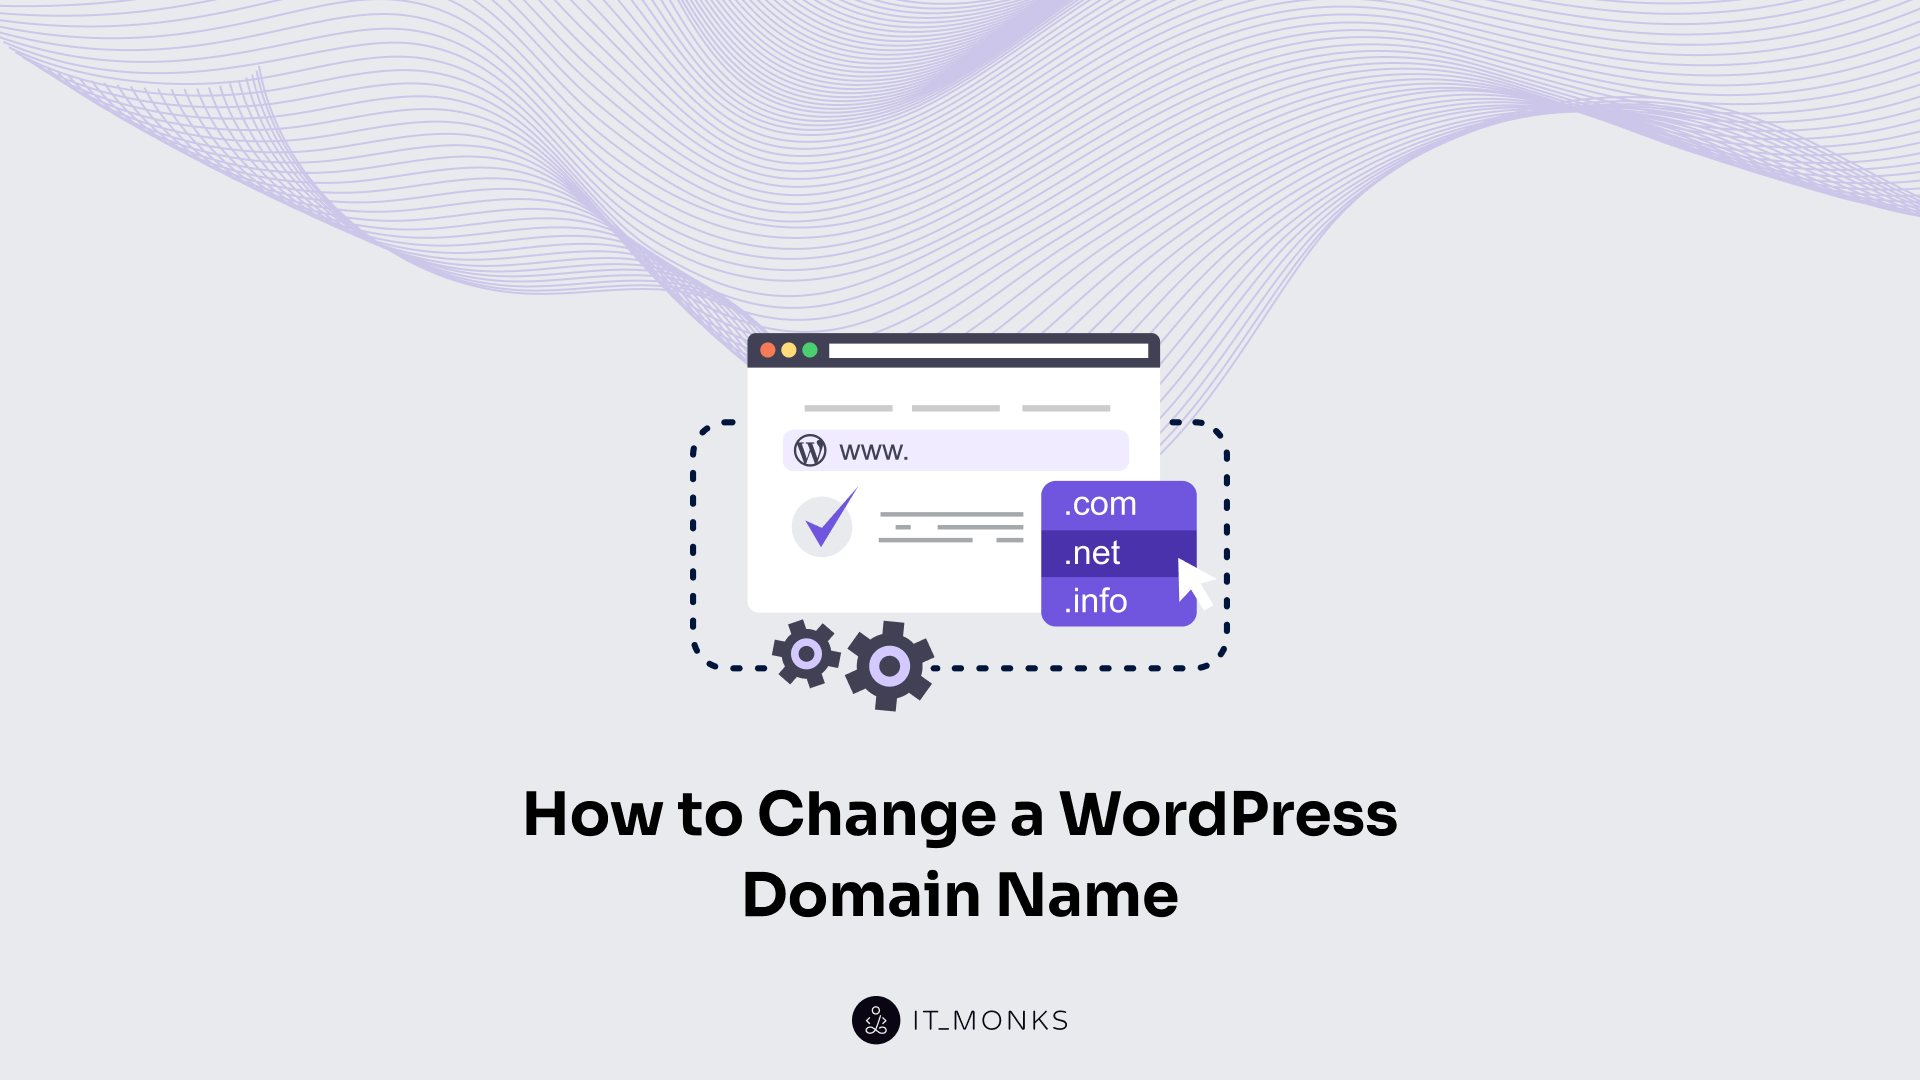
How to Change a WordPress Domain Name

Table of Contents
A WordPress site changes its domain name end-to-end on the same hosting infrastructure when the current domain is replaced with a new one, and every reference to the old hostname (including the admin URL, public site address, database site-URL fields, internal links, redirects, search-engine listings) is updated to match. The files, database, theme, and host stay; only the domain name at the front of it changes.
Site owners, developers, and agency operators handling this kind of rename need a procedure that stays inside that scope. A host move, a platform switch, a localhost-to-live deploy, a multisite primary-domain swap, and a Site Title rename are separate jobs; conflating them with a domain rename is how the rename goes wrong.
The walkthrough below covers why the change occurs, the three preparations, the choice of method, the five-phase WordPress-side rename, the 301 redirect, the cutover prerequisites for DNS and SSL, the post-change verification, the plugin alternative track, and a short FAQ.
Why Change a WordPress Domain Name?
A WordPress domain change happens when site owners need a new public address for a site that is otherwise running fine. The trigger is almost always a business event: the brand has moved on, and the site has to follow.
Five triggers cover almost every WordPress domain change in practice:
- Rebrand: the company name has changed, and the domain has to match the new name on the door.
- Brand-name change: the legal entity stays, but the consumer-facing brand evolves and the domain has to track it.
- Vanity-domain switch: a shorter, memorable, or geographically specific domain replaces the original as the primary address.
- Expired-domain replacement: the original domain was lost at registrar level (missed renewal, lapsed ownership) and a new domain takes its place.
- Placeholder-to-production swap or ownership change: a site running under a staging URL or holding name moves to its real domain, or a sale changes the owner who renames the property.
Within the broader WordPress migration topic, a domain rename is one specific kind of move: files and database stay where they are; only the public name and every reference to it change. The parent guide covers migration as a category that also includes platform changes, host moves, and localhost-to-live deploys.
A domain change is neither a content move nor a host move. It is the public-name swap on the same files, database, and host. A site that is also leaving its hosting provider in the same operation should start by moving WordPress to a new host, then return to complete the domain-rename steps. A domain change is also not a site title change: the site title is a separate field in the same admin panel, and renaming it does not affect URLs or DNS.
Steps to Take Before You Change Your WordPress Domain
Preparations for a WordPress domain change are the conditions that make the cutover safe to attempt: the file backup, the new-domain DNS readiness, and the cutover-window pick. None are optional.
- Full file backup and database export, kept on third-party storage. A complete copy of the file tree (everything under the WordPress root, including wp-content, themes, plugins, uploads, and wp-config.php) plus a full SQL export of the database, stored somewhere that is not the source host’s own backup service. Cloud storage, a workstation, or an external drive all qualify. The backup is the rollback safety net if the rename breaks the site.
- New-domain registration confirmed, DNS records pre-staged, SSL ready to issue. Register the new domain under the correct account, then pre-stage DNS records (A or AAAA records pointing to the hosting origin, a CNAME for www, any MX or TXT records the site depends on) at the new domain’s authoritative DNS without activating them as the site’s primary records yet. Line up SSL so the new domain receives a certificate the moment the cutover happens. Most modern hosts auto-issue Let’s Encrypt as soon as the domain resolves; others require a manual reissue. Pre-staging DNS leaves propagation time as the only variable during the cutover.
- Low-traffic cutover window picked deliberately. A cutover window is the period during which the rename happens, and the site may be inconsistent. Old URL still resolving for some visitors, new URL serving for others, redirects in flight. Pick a quiet hour against the site’s own analytics so that the fewest users reach a half-applied state.
How to Choose the WordPress Domain Change Method
A WordPress domain change has three viable paths, and the one that applies depends on the site’s state at the time the change runs.
- Settings → General admin panel. WordPress holds the active domain in two fields: WordPress Address (URL) and Site Address (URL). Editing those fields renames the domain from inside the admin. This path fits when the admin is reachable on the OLD domain at the moment the rename starts.
- wp-config.php constants WP_HOME and WP_SITEURL. WordPress reads two constants from wp-config.php that override the database’s stored URLs whenever they are defined. Setting them at the file level renames the domain without touching the admin. This path fits when admin login is broken or the new domain is not yet DNS-resolved.
- Bundled-tool path. Several WordPress backup-and-import plugins offer a domain-change feature that runs file backups, database exports, URL replacements (including the serialized-data pass), and imports in a single flow. This path fits when the developer prefers a single tool and the site’s serialized payloads are predictable enough for the plugin to handle.
Three filter questions decide which path applies:
- Is the admin reachable on the OLD domain? If yes, the Settings panel is on the table. If no, the file-level path is the only safe entry point.
- What is the downtime tolerance? A site that can absorb a few minutes of inconsistency suits any of the three; a site that cannot favors the file-level path because it skips the admin round-trip.
- Are there serialized URLs in content? WordPress stores option values, widget configuration, theme mods, and custom-field data as PHP-serialized arrays that hold the site URL inside the payload. A naive replacement breaks the serialization. The Settings panel handles only its own two fields; the file-level constants handle the WordPress-read URL but not the data; the bundled-tool path handles the serialized pass as part of its flow. Content-heavy sites need a serialization-aware search-replace regardless of which path opens the work.
The Settings panel suits functional sites where the admin is reachable on the OLD domain. The file-level constants suit broken-admin recovery and pre-DNS-cutover renames. The bundled-tool path suits developers who want one surface for backup, database export, and URL rewriting at once.
How to Change Your WordPress Domain
The WordPress-side rename runs as five mechanics in the order of admin, file, database, search-replace, and Search Console, against a single site that keeps its files, theme, plugins, and database in place. Only the canonical hostname changes. None of the five phases substitute for another, they layer.
How to Change the WordPress Domain in Settings → General
When admin login still works on the old hostname, the Settings → General panel is the simplest of the five phases. Two URL fields the WordPress core treats as canonical sit on this screen: “WordPress Address (URL)” writes to wp_options.siteurl and controls where WordPress core files live; “Site Address (URL)” writes to wp_options.home and controls the public front-end URL. Both fields hold the old hostname before the change.
The administrator logs in at the old hostname, opens Settings → General, edits both URL fields to the new hostname, and saves. WordPress drops the active session the moment the save lands; the cookie was issued under the old hostname. Logging back in at the new hostname confirms the change took.
WordPress Address (URL):  https://newdomain.com
Site Address (URL):       https://newdomain.com
The Site Title field on the same panel is a different attribute. it controls the human-readable name in the header and feeds, not the hostname.
The Settings → General path collapses the moment the old hostname is unreachable, DNS already pointed at the new server, the SSL certificate not yet issued under the old name, the login page itself returning an error. When the admin is unreachable, the alternative entry point lives in the file system.
How to Update the wp-config.php File for the New Domain
Updating the wp-config.php file for the new domain places two PHP constants WP_HOME and WP_SITEURL) into the WordPress configuration file that loads on every request. These constants override wp_options.siteurl and wp_options.home when present, so WordPress reads them from the file system before querying the database.
The file-level override is the safe entry point when the admin panel is unreachable or the new hostname does not yet resolve at the DNS layer.
Two situations make wp-config the correct phase to start at.
- Login on the old hostname is broken (DNS already cut over, cookie mismatch, SSL handshake failure) and Settings → General cannot be reached.
- Or the new hostname does not yet resolve, the database still holds the old hostname, and an admin login at the new name redirects in a loop.
Either way, hard-coding the URLs in wp-config.php breaks the deadlock from the file system side.
Reaching the file requires server-level access: SFTP or SSH on most hosts, cPanel File Manager on shared hosts that block shell access. Without those, the administrator falls back to editing the database in an emergency via phpMyAdmin.
Back up wp-config.php before opening it. The safe-edit prerequisite covered in editing wp-config.php, which walks through file location, the placement rule above the “That’s all, stop editing!” marker, and the rollback path for syntax errors.
Add the two lines that define the WP_HOME and WP_SITEURL constants above the stop-editing marker:
define( 'WP_HOME', 'https://newdomain.com' );
define( 'WP_SITEURL', 'https://newdomain.com' );
WP_HOME maps to wp_options.home and overrides the public URL. WP_SITEURL maps to wp_options.siteurl and overrides the WordPress core location.
Both forces are usually treated as temporary scaffolding rather than a permanent setting. They hard-code the new URLs while the database still holds the old hostname, the admin becomes reachable through the override, and the database update rewrites the underlying rows so canonical values match. Once that update is verified, remove the two define lines so the file does not carry permanent URL hard-codes future renames would have to chase in two places.
How to Update the WordPress Database for the New Domain
With the new URLs forced from wp-config.php, the wp_options siteurl and home rows still hold the old hostname. The database update rewrites those two scalar rows inside the WordPress database (MySQL / MariaDB) so the constants can be removed afterward. option_name=’siteurl’ matches WP_SITEURL; option_name=’home’ matches WP_HOME.
Two paths reach those rows.
- phpMyAdmin: open the database, select wp_options, locate siteurl and home, edit option_value on each, save.
- wp-cli: one command per row updates the value without the GUI. Either path lands the same write.
UPDATE wp_options
SET option_value = 'https://newdomain.com'
WHERE option_name IN ('siteurl', 'home');
A raw SQL UPDATE is acceptable for these two rows for one specific reason: option_value on siteurl and home holds plain scalar strings, no PHP serialization, no length-prefix metadata. A raw UPDATE writes the new string and the row is correct.
The same pattern is unsafe everywhere else. WordPress stores serialized PHP arrays inside option_value on dozens of other wp_options rows, inside wp_postmeta on every post with structured metadata, and inside theme mods.
Serialized arrays carry a length prefix on each string. A string of length 21 is stored as s:21:”…”. A raw UPDATE that swaps the old hostname for a new hostname of a different length leaves the prefix unchanged, the array breaks structurally, and the next read surfaces silent data loss. The wp_options scalar rows are the boundary where raw SQL is still safe; everything beyond it belongs to search-replace.
How to Run a Search-Replace for Serialized URLs
Running a search-replace for serialized URLs is the database-wide rewrite that finds every old-hostname string outside the two wp_options scalar rows and replaces it with the new hostname while preserving serialization metadata. Old-hostname strings are scattered across wp_postmeta, serialized arrays inside wp_options, post_content where editors pasted links, and theme mods that store option arrays. None of those surfaces tolerate a raw SQL UPDATE.
PHP serialized arrays carry length-prefixed strings, a 21-character URL is stored as s:21:”https://olddomain.com”. A raw UPDATE replaces the URL substring without recalculating the prefix, leaving s:21: in front of a string that is now 25 or 19 characters long. PHP’s unserialize call then refuses to read the array, the option returns false, and the feature silently fails. A serialization-aware tool walks the data, decodes each array, swaps the URL, recalculates the prefix, and re-encodes.
The serialization-aware tool of choice is WP-CLI, the canonical WordPress command-line interface. The WP-CLI wp search-replace command runs serialization-aware substitution across every table by default, with two flags that matter for a domain change:
# Preview every replacement first
wp search-replace 'https://olddomain.com' 'https://newdomain.com' --dry-run --skip-columns=guid

# Live run once the preview is clean
wp search-replace 'https://olddomain.com' 'https://newdomain.com' --skip-columns=guid
The –dry-run flag prints every replacement that would be made without writing to the database: read the count and the affected tables, confirm nothing unexpected is in scope, and only then run the live command without the flag.
The –skip-columns=guid flag protects the wp_posts.guid column, which feed readers treat as a permanent identifier; rewriting guid re-triggers RSS re-syndication and is one of the few places a domain change should not touch.
For sites that cannot run WP-CLI (shared hosts blocking command-line access, environments with no SSH), Better Search Replace is one GUI alternative that runs the same serialization-aware substitution from inside the WordPress admin. Plugin or CLI, the rule against raw SQL UPDATE on serialized fields holds.
How to Notify Search Engines About the New Domain
Notifying search engines about the new domain registers the new hostname as a separate property in the search-engine consoles and tells them, on the record, that the old property has moved here. Without that notification, ranking signals stay attached to the old property, the new domain is re-evaluated from cold as if it were brand-new, and the index handoff stretches out for weeks longer than necessary.
Google Search Console is the primary surface.
The administrator adds the new hostname as a new property and verifies ownership through one of three methods:
- a DNS TXT record published on the new domain’s nameservers
- an HTML verification file uploaded to the site root
- or an existing Google Analytics or Google Tag Manager account on the same property
Once ownership is confirmed on both properties, the URL-change is submitted from the old property’s Settings → Change of address surface, naming the new property as the destination. This is the current, supported flow Google maintains for property moves.
Index reassignment then runs over the following weeks: Google re-crawls the old URLs, follows the 301 redirects, and reattaches ranking signals to the new property as the new URLs accumulate fresh ranking equity.
Bing Webmaster Tools follows the same pattern under a different name: register the new hostname as a property, verify ownership, and submit the move via Site Move.
With Search Console and Bing Webmaster Tools both notified, the WordPress side, the database side, and the search-engine side all carry the new hostname.
How to Redirect the Previous WordPress Domain
Redirecting the previous WordPress domain routes every request that still arrives at the old hostname to the matching path on the new hostname using a permanent 301 status code. Without it, every link the old domain accumulated (backlinks, saved bookmarks, search-engine result entries not yet recrawled) points at a hostname that returns 404s or an unbranded hosting-default page. The 301 forwards both the visitor and the link equity to the canonical URL on the new domain.
For the redirect to fire at all, the OLD domain’s DNS must continue resolving to this server . Keep the registrar’s records pointed at the host until the search-engine index handoff completes. An old domain allowed to expire or repointed elsewhere too early breaks the chain.
On Apache hosts, the simplest server-level form lives at the top of the old domain’s .htaccess:
RewriteEngine On
RewriteCond %{HTTP_HOST} ^olddomain\.com$ [OR]
RewriteCond %{HTTP_HOST} ^www\.olddomain\.com$
RewriteRule ^(.*)$ https://newdomain.com/$1 [R=301,L]
Three pieces matter.
- The two RewriteCond lines match both the apex and the www subdomain, a redirect that covers only one leaks the other.
- The RewriteRule captures the entire request path with (.*) and re-emits it after the new domain with $1, so olddomain.com/blog/post-slug/ lands on newdomain.com/blog/post-slug/ rather than collapsing every old URL onto the new homepage.
- The [R=301,L] flag forces a permanent 301 and halts further rewrite chaining.
On nginx hosts, the equivalent server block is shorter:
server {
    server_name olddomain.com www.olddomain.com;
    return 301 https://newdomain.com$request_uri;
}
$request_uri carries the full path-plus-query nginx received, so path preservation matches the Apache version without an explicit capture group.
Shared-hosting customers without server-config access reach for a WordPress redirect plugin instead. The Redirection plugin is one example. It reads incoming requests through WordPress’s routing layer, matches them against a database-stored rule list, and issues 301s from PHP. The trade-off is the cost of a full WordPress bootstrap on every redirected request: fine for a low-traffic blog, measurable on a busy commerce site.
One trap waits for first-time configuration: the double-301 chain. If www redirects to apex which then redirects to the new domain, the browser walks two 301s before reaching the target. Search engines tolerate one hop and discount the second; a chain of three or more starts to bleed link equity. Point both www.olddomain.com and olddomain.com directly at the canonical target, not at each other.
DNS and SSL Prerequisites for the WordPress Domain Change
The WordPress-side prerequisites for the network-layer cutover are: the new domain’s A or CNAME records pre-staged at its authoritative DNS so the new hostname resolves to the hosting origin the WordPress installation already runs on; an SSL certificate that covers the new hostname (auto-issued by most modern hosts, manually reissued on others); and a cutover-window pick that respects propagation TTL, typically a four-to-24-hour tail, trimmed by lowering TTL a day ahead.
The registrar-level walkthrough (TTL drop, record switch, certificate reissue, HTTPS verification) is sibling-seed territory. Follow moving WordPress to a new host for the full DNS / SSL cutover when the rename also moves the site to new infrastructure.
How to Verify the New WordPress Domain After the Change
Verifying the new WordPress domain after the change means walking a short list of post-cutover checks against the live site to confirm no leaked references to the old domain remain. The 301 catches inbound traffic; the DNS and SSL flip makes the new hostname authoritative; verification catches the small failures both leave behind.
Four checks cover the highest-value surfaces:
- Front-end render and admin login. Open the homepage, two or three deep posts, and a category archive on the new hostname; confirm each loads with theme typography and media intact. Reach /wp-admin/, log in, and confirm Settings → General shows the new domain in both URL fields.
- Permalinks integrity. From Settings → Permalinks, click Save Changes. The save flushes WordPress’s rewrite rules and clears any 404s on previously-working post URLs. Open one existing post and confirm a pre-change image now points at https://newdomain.com/wp-content/uploads/….
- Search-replace integrity. Spot-check two or three serialized fields (widget_*, theme_mods_<active-theme>, and a plugin-settings row in wp_options) through wp option get. Each should deserialize cleanly; a row returning false instead of an array signals a broken serialized string, and the fix is to re-run search-replace through a tool that updates length declarations.
- Search-engine notification confirmed. Open the new property in Search Console and confirm the Settings → Change of address request from the old property is logged against it; the same on Bing Webmaster Tools’ Site Move surface.
WordPress Domain Change Plugins as a Decision Filter
WordPress domain change plugins are the third method track alongside the Settings panel path and the wp-config constants path, which bundle file export, database rewrite, and URL search-replace into a single execution surface.
The plugin track does not win the domain change. It serves as a decision filter across three axes:
- admin reachability (the plugin track is the entry point when the admin is locked out and the rebuild runs through a host control panel)
- downtime tolerance (a host-managed restore-with-rename collapses the offline window to near-zero)
- serialized data (plugins bundle a search-replace step that walks PHP-serialized payloads without breaking them).
The plugin landscape sorts into three method categories.
- Clone-and-import. Duplicator is one example, packaging the site into a single archive plus an installer.php script that rebuilds at the destination and runs URL search-replace inside the installer step; the differentiator is portability, since the live site is never edited in place.
- In-WordPress 301 management. Redirection is one example, a WordPress-native interface for rule entry and 404 monitoring that lives inside the admin rather than at the server-config layer; the differentiator is admin-side ownership.
- Host-managed restore-with-rename. UpdraftPlus and JetBackup are both examples, where the backup tool’s restore feature accepts a rename input and handles the URL rewrite at restore time; the differentiator is that the heavy lifting happens at the host or backup-cloud layer.
For sites where DIY tilts toward hired help (e-commerce with live checkout state, custom plugin or theme code in the URL pipeline, OAuth integrations registered against the old domain, or zero-downtime requirements) the cost-benefit shifts. The IT Monks team handles the rename end-to-end as a WordPress migration service, with rollback prepared and the serialized-data pass scoped before the cutover starts.
Contact
Don't like forms?
Shoot us an email at [email protected]

 Gemini